
Do you ever use the Track Changes feature in any Microsoft Office products? It’s great! I use it in Word all the time. It’s especially useful when I’m working with a client and they have revisions to make to documents. Track Changes makes it easy to locate and see exactly what changes they’ve made.
Recently, we’ve had to update older documents. One document came to me that was nearly 100 pages long. My colleague had made numerous changes, but not on every page. I only needed to print the changed pages so I could physically take them into the audio recording booth. But wait – Word does not have the capability to just print Track Changes! (Trust me, I used the Help menu and tried to Google how it was done. Nope – it’s not possible.) I was fearful that I’d have to look through page by page and write down which individual pages to print. Before I gave in to that solution, I found a much better work-around. Here’s a trick to help you save a serious amount of time and paper.
- Access the Print menu.
- From the Settings drop-down menu, select List of Markup.
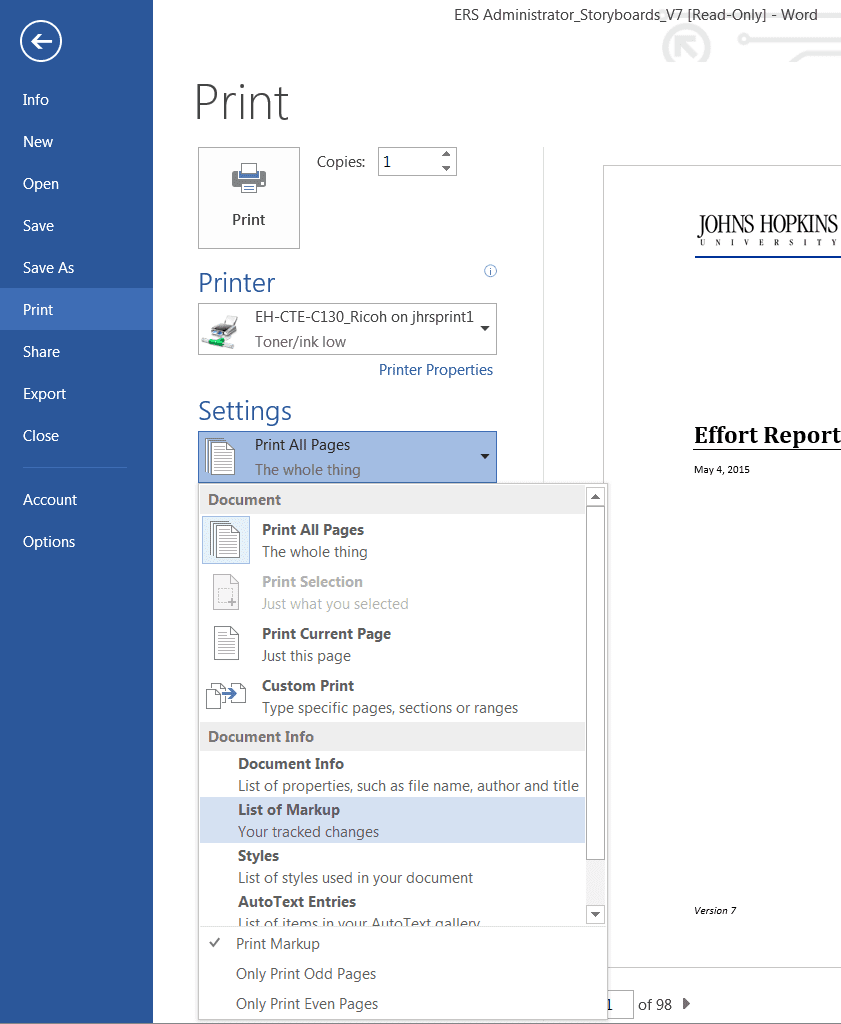
- Click Print.
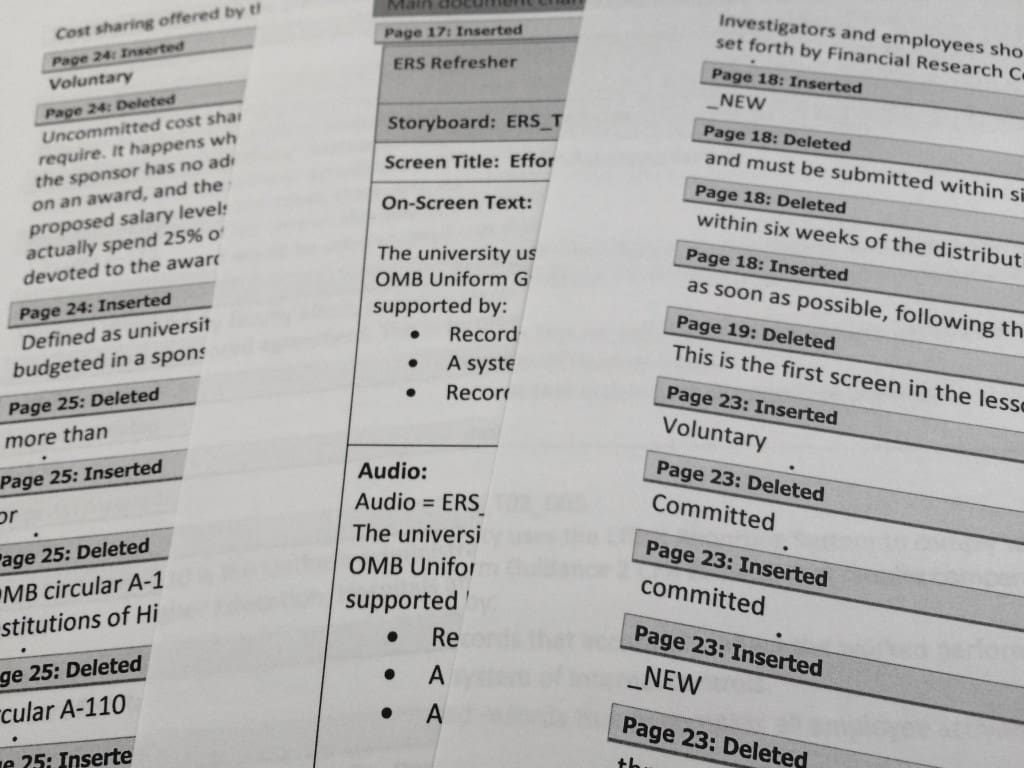
- Review the printed document. It’s a concise list that indicates every page where a change was made.
- Access the Print menu again.
- From the Settings drop-down menu, select Custom Print.
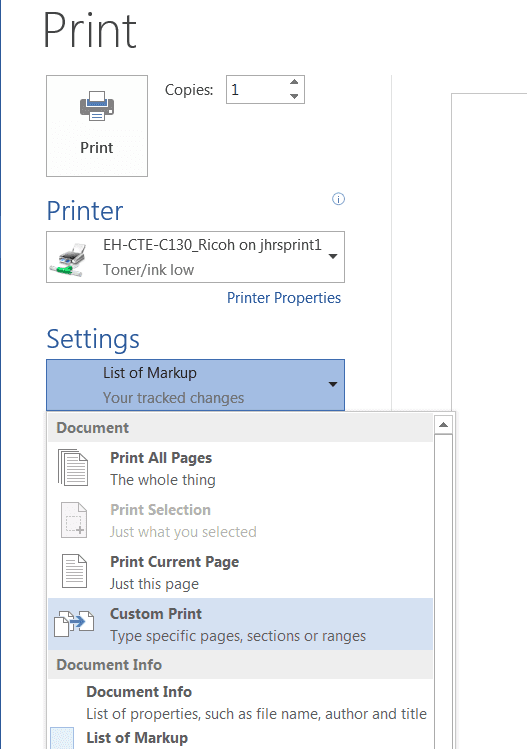
- Enter the pages that contain changes.

- Click Print.


Sam
10/10/2019 @ 4:13 AM
Sadly, Word went into what appears to be an infinite pause/crash when I tried this approach. Oh well. Thanks for trying.
Stephen Heffner
05/21/2019 @ 2:51 AM
Or just screen shot the document and print that.
AP
03/21/2017 @ 1:25 PM
This method doesn’t work! The concise list indicates the page numbers of the pages where the changes are when viewed in “clean” (ie not showing track changes). If the document is lengthy and changes take up space (for example, a table deletion), when you switch back to track changes view the page numbers differ, so you end up printing the wrong pages.
Anas Saras
12/14/2016 @ 1:29 AM
I did as you said, but then realized that the total of the report pages + changed pages are the total of the whole document . LOL
So I see that the method to save paper is to print the changed pages one by one manually.
Respectfully
Anas
H. Stout
06/26/2015 @ 10:01 AM
Thanks, Ann – great tip!