
I often hear grumbles around the office from people who have unfortunately been left off of important emails. A lot of times, this is only by mistake. It’s hard to remember every person you need to include! So here’s a quick run-down on how to create contact groups using Outlook 2013. By following these steps, you can create a group of contacts. And then later, when you email the group, you won’t need to individually remember every person you want to contact.
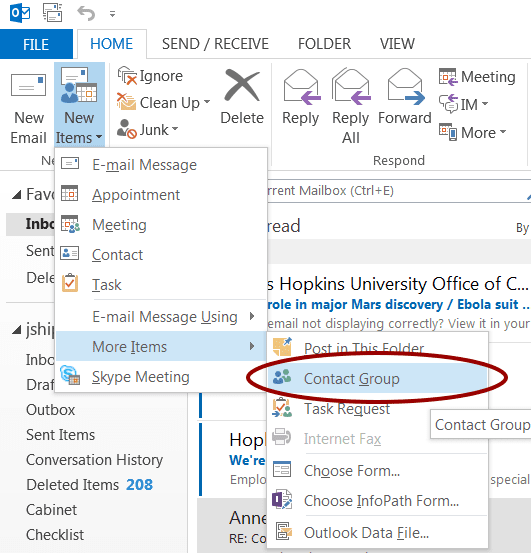
1. In Outlook 2013, under the “Home” tab, in the “New” section, click “New Items.”

2. Under “More Items,” click “Contact Group.”
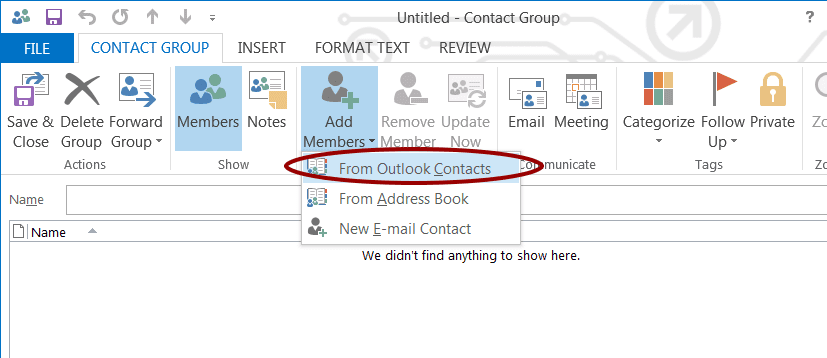
3. A new window will appear. To add members to your group, under “Add Members,” click “From Outlook Contacts.”
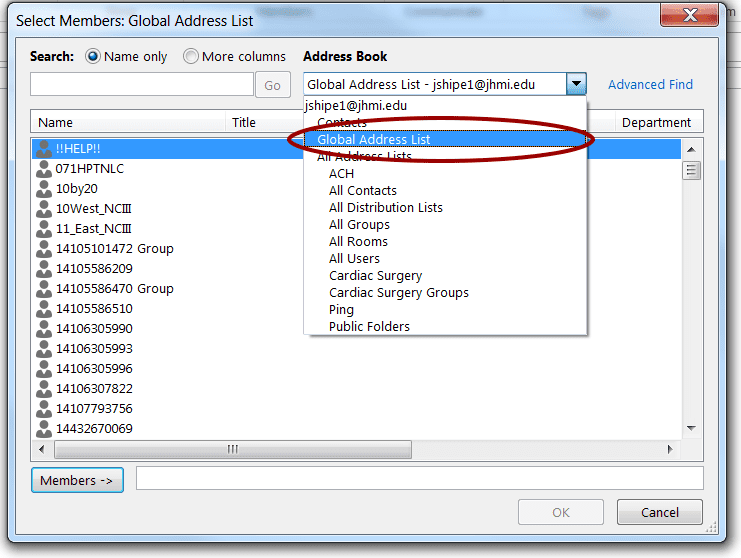
4. Now, in the new pop-up that appears, go to the “Address Book” drop-down menu and select “Global Address List.” From here, you will be able to find any of your contacts by searching.
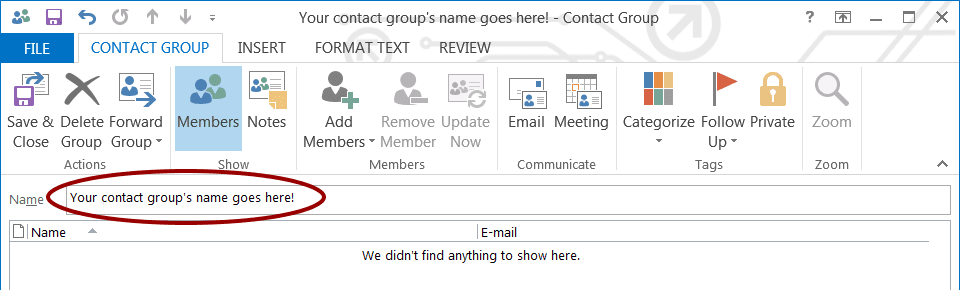
5. When you are done finding all of your contacts, click “OK.” Before you finish, don’t forget to name your group!
 +
+
6. That’s it! Click “Save & Close.” Now, when you create a new e-mail, in the “To…” field you can just type in the name of your contact group to email all of the people in that group simultaneously.


